Welcome to my Kandie Booster. I’m here to help instruct and inspire you with new idea’s and twists on the time honored tradition of Kandie singlets. Today I’ll be going over how to add a little “heart” into your singlets design without losing the ease of making then or the ability to stretch them over your “PLUR Handshake”. This is not a beginners course so I will be assuming that you understand the basic’s of kandie making. Tying off your kandie and basic singlet patterning will not be covered in length. If it is needed I’ll make a new post for those. So with that being said, let’s get started.
Items needed:
- 19 Beads for the Heart. (I suggest one color to get started but after you get the design down, play with it and make it your own.)
- About 3.5 ft (1.2ish yds) of elastic String. I suggest a medium gauge elastic string, however there are many mediums that will work for kandie, some will hold knots better other with stretch better, keep in mind what you are using when your deciding on how many beads to use for the band of your kandie.
- Beads to make the remainder “singlet” band. Remember that you will be threading through these beads multiple times ( around 6-7) so standard pony beads work great however if your using smaller beads you may run into issues as you continue to bead through the same bead.
- Optional, Yarn Needle to assist in threading through beads. can be found at most wal-mart’s for cheap. I think my 4 pack cost me $1.50. I use the plastic ones because if there is an imperfection on the inside of my pony bead, I can still pull it through. They are more pliable and can also bend to make sharper corners. Did I mention that they’re cheaper too?
- Optional, Binder Clip. I use mine on the end of my string to keep room to tie it off at the end and to keep the beads in place without needing to leave the cord on the spool.
- Nail clippers – I personally will use nail clippers for my cord. It makes it much easier to snip close to the knots and they’re easier to handle in one hand while pulling the sting tight.
- REQUIRED- a lot of PLUR. 🙂 always remember why your doing this and think of the smiles and excitement your fellow ravers will have when they see your sick, original-ish, designs.

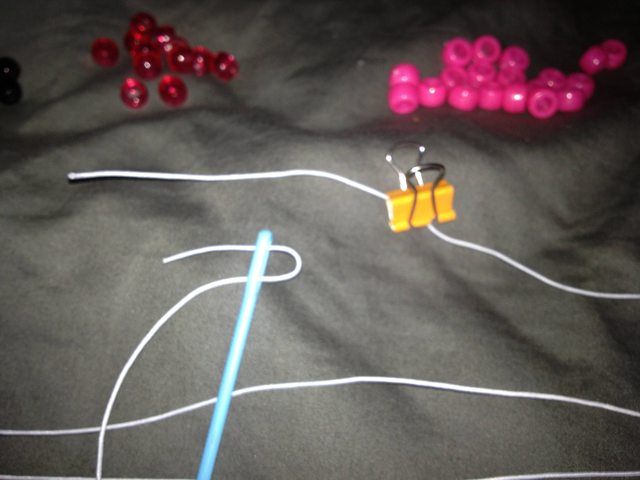
We’ll start out by attaching our binder clip to one end of our segment of cord. I leave about 3in (~7cm) on the end so I can easily tie it off at the end. I also will thread my yarn needle. Some of the thicker cords will be a little more challenging. However if you make a small loop (often called a bight) then push the top of that bight through the needle’s eye it will make a small loop on the other side that you can grab to thread it. After the cord is on the other side either leave an extra tail and be mindful to pull at the base of the needle so you are holding the eye and the loose cord between your fingers when your pulling, or tie a light knot on the end to keep the cord from constantly falling out of the needle.
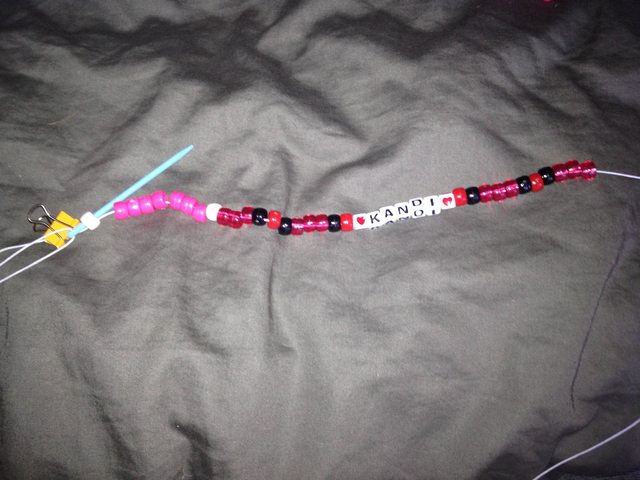
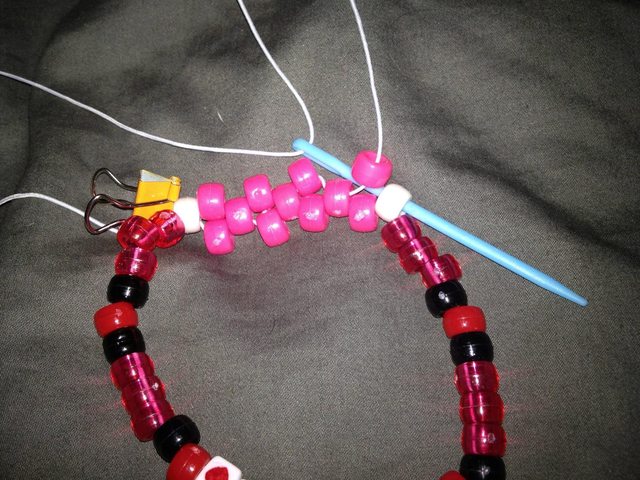
Start your pattern for a singlet with one of the border beads for the heart. This should be a contrasting color from the heart so it isn’t mistaken as a part of your heart design. In this case i have used white as my boarder, and pink as my heart. The remainder patern of red and black I have added is not a part of this tutorial. Use any pattern your heart desires and as many beads as you need to fit this over your hand when interlocked with another raver. I personally use 29 extra beads, however i have larger wrists and hands. When I make these custom for girls i often will use 20 beads instead to make sure they fit snugger. So maybe think about making a range that will fit on you.

Now that we have our base pattern we are going to thread through the white bead and pull it just tight enough to make a loop to form our singlet.
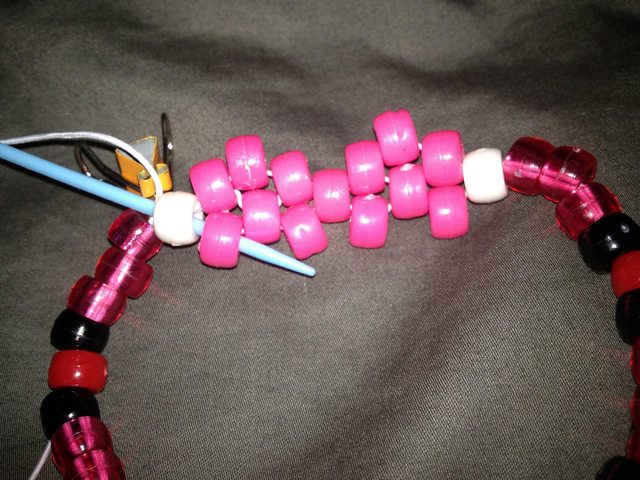
We add a pink bead to our cord then thread through the second pink bead. This is going to cause our new bead to stack on top of the original pink bead and start to form our heart. We will continue adding a pink bead and threading through every other original bead until we thread back into the white bead. This should take a total of 4 pink beads from the first white bead to the exit white bead.
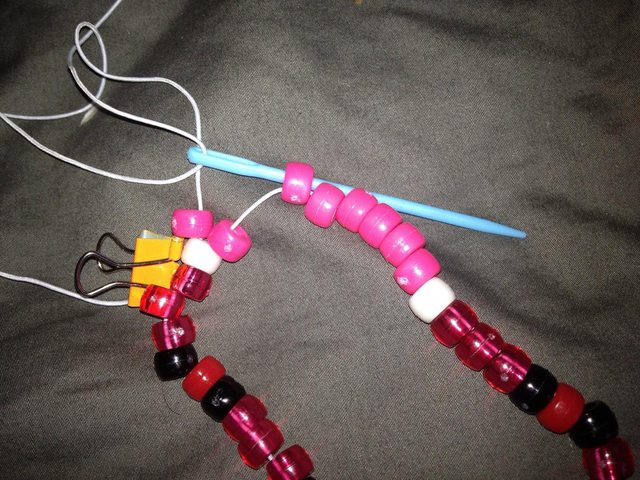
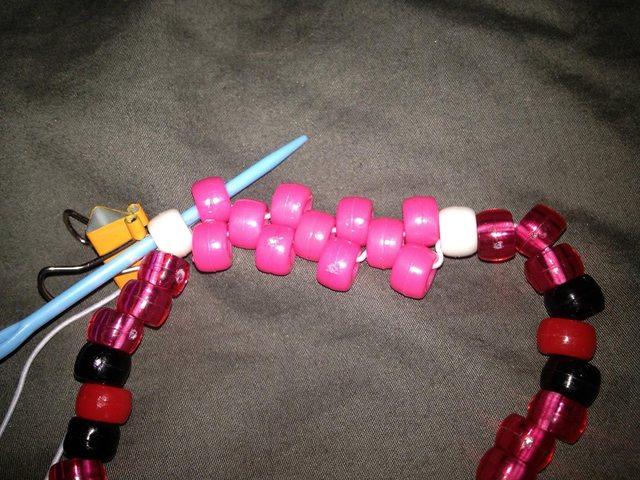
When you have completed this you will have a staggered wall of pink beads. Once you have softly tightened the pattern so it holds together but doesn’t take away the elasticity of your band, re-thread through the entire single strand band back to the first white bead.
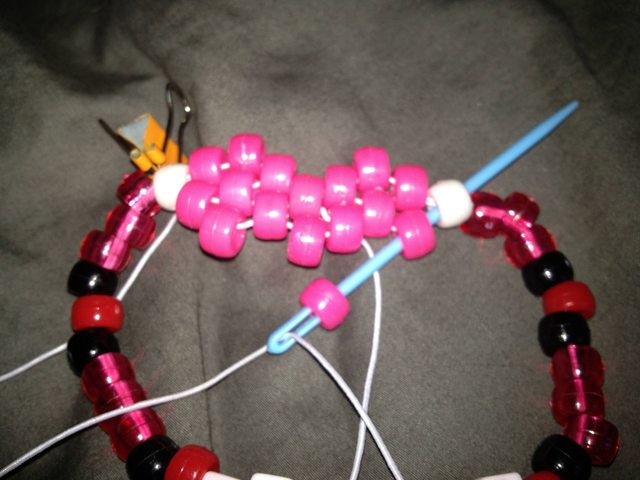
This time thread through the first white bead and the “top” first pink bead (top and bottom at this point is all theoretical. until you start to form the body either side can be “top” you just need to pick on and keep with that for the remainder of the heart). After re-threading those two beads add a pink bead and thread through the raised bead.
Then thread down into the valley bead and back into the next raised bead. Add another pink bead and finish by Re-threading the last pink bead and white bead.
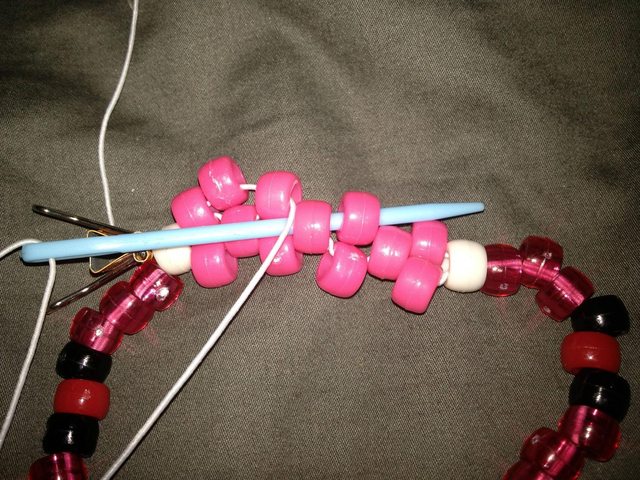
This will fill the First and Third “valleys” created by your raised beads to be filled in this pass.
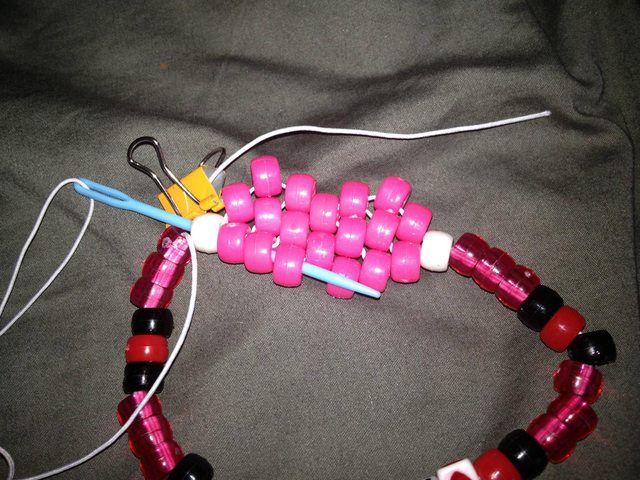
Once again… Re-thread the entire singlet. During this process keep your project tight enough to keep form, but avoid over tightening as it will make your heart concave and the singlet less stretchable for “PLUR Handshakes.” This time when you come through the White boarder bead you will head to the bottom (opposite side of your two peaks on the “top” side). Once again re-thread the white and the bottom pink bead this time. Then add another pink bead and thread through the raised bead.
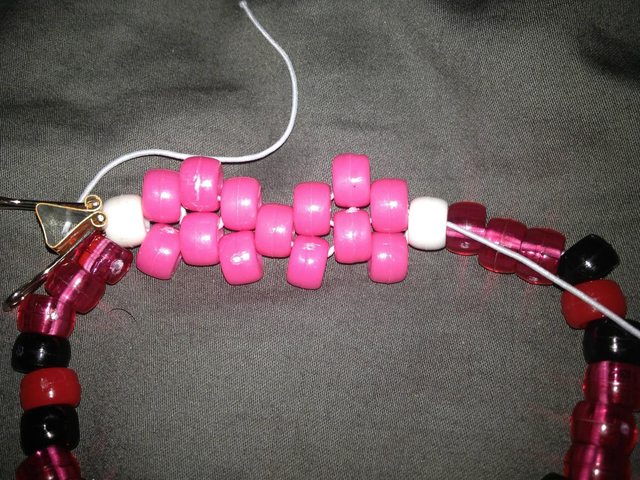
Then repeat that step twice more to fill the 3 cavities you have on the bottom of your pattern. Then you guessed it… Take another lap.
This time you will thread through the white boarder bead, the first bottom pink bead and the second bottom pink bead. Add one more Pink and thread it through the bottom raised pink bead. add one more pink then re-thread the rest to the white boarder bead and take a lap. 🙂 starting to feel like high school gym class? Who’d of known take a lap would do us good somewhere in life.

Finally, thread through the white boarder bead and all the way to the last cavity. Add your final pink bead and thread all the way to the exit white boarder bead. Your Kandie heart is ready to be tied off and traded.
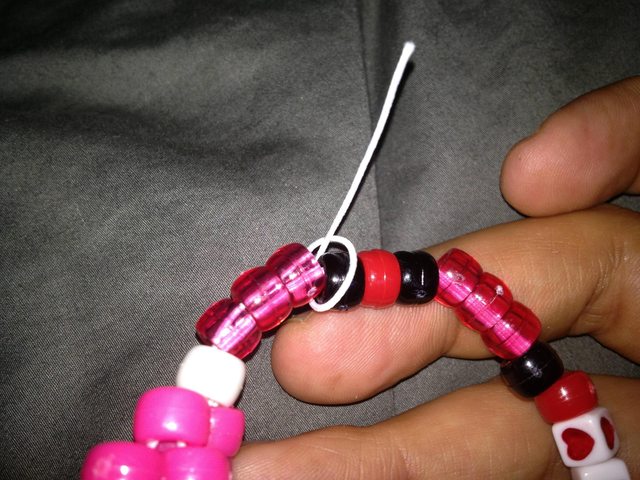
If you have only ever tied off singlets, I find re-threading 3 beads then tying off with a loop knot, a.k.a. a sewer’s knot. is the easiest. Always triple knot your kandie and pull it tight enough to hide the knot inside the beads when the elastic bounces back. I also do not recommend tying them off in the pattern over tying them off on the singlet. If you pull too tight on a pattern string you can loosen a bead and the pattern can look off. After you tie off the threading side don’t forget to tie off your starter side too.
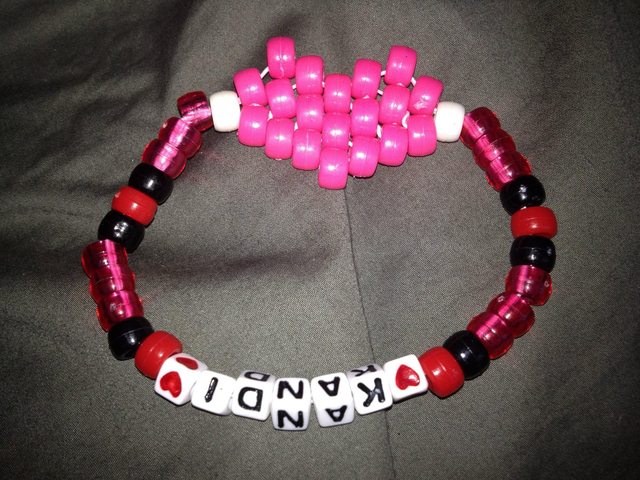
Final Product. Play around, have fun. Remember that Kandie is a symbol of us having a memory with in our community. It’s a piece of you that you give to another in honor of this. Peace, Love, Unity, and Respect. Don’t expect this from those around you, but give this to those around you. And if you don’t get it back… just take a few steps to the left or right until you find your peace. Much <3 all!

And make it your own. This tutorial will only give you the tools, it’s up to you to build, create, and make them your own. Add lessons from this to others that I’ll post in time or your own spin on things. Share and be apart of our unity as one community. The sky is the limit, so don’t be afraid of failing. You’ll never know what you can do until you try. See you all out there.


Leave a Reply